Tutorial: Build a Task Tracker Backend with Engine


Overview
Engine helps you build and deploy every part of a modern web application quickly, without writing any code. In this guide, we’ll create a simple backend for a task tracker application, allowing you to familiarise yourself with Engine's fundamentals.
Under the hood, it's all code, built in popular Javascript and Typescript frameworks.
What You Need To Start?
A free Engine account. Sign up here.
Step 1: Create Your Task Tracker Project
Once your account has been created, you can create your first project. You just need to give it a name.
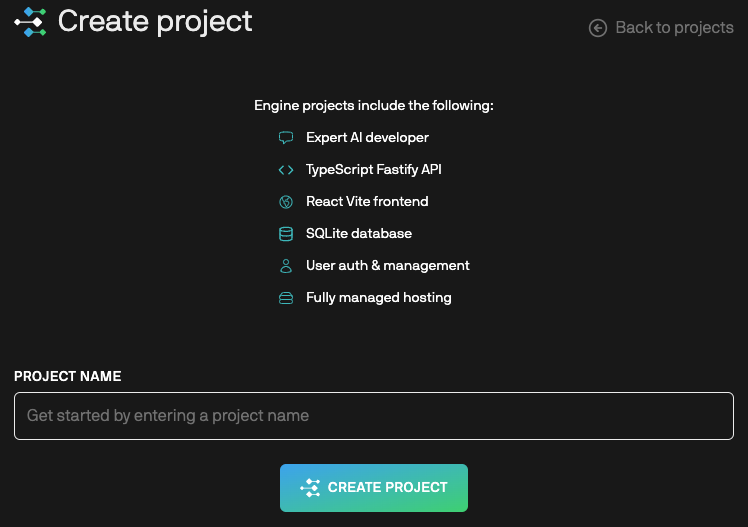
Now, Engine will create all of the infrastructure your application needs to run, as well as the environment we'll use to build the app.
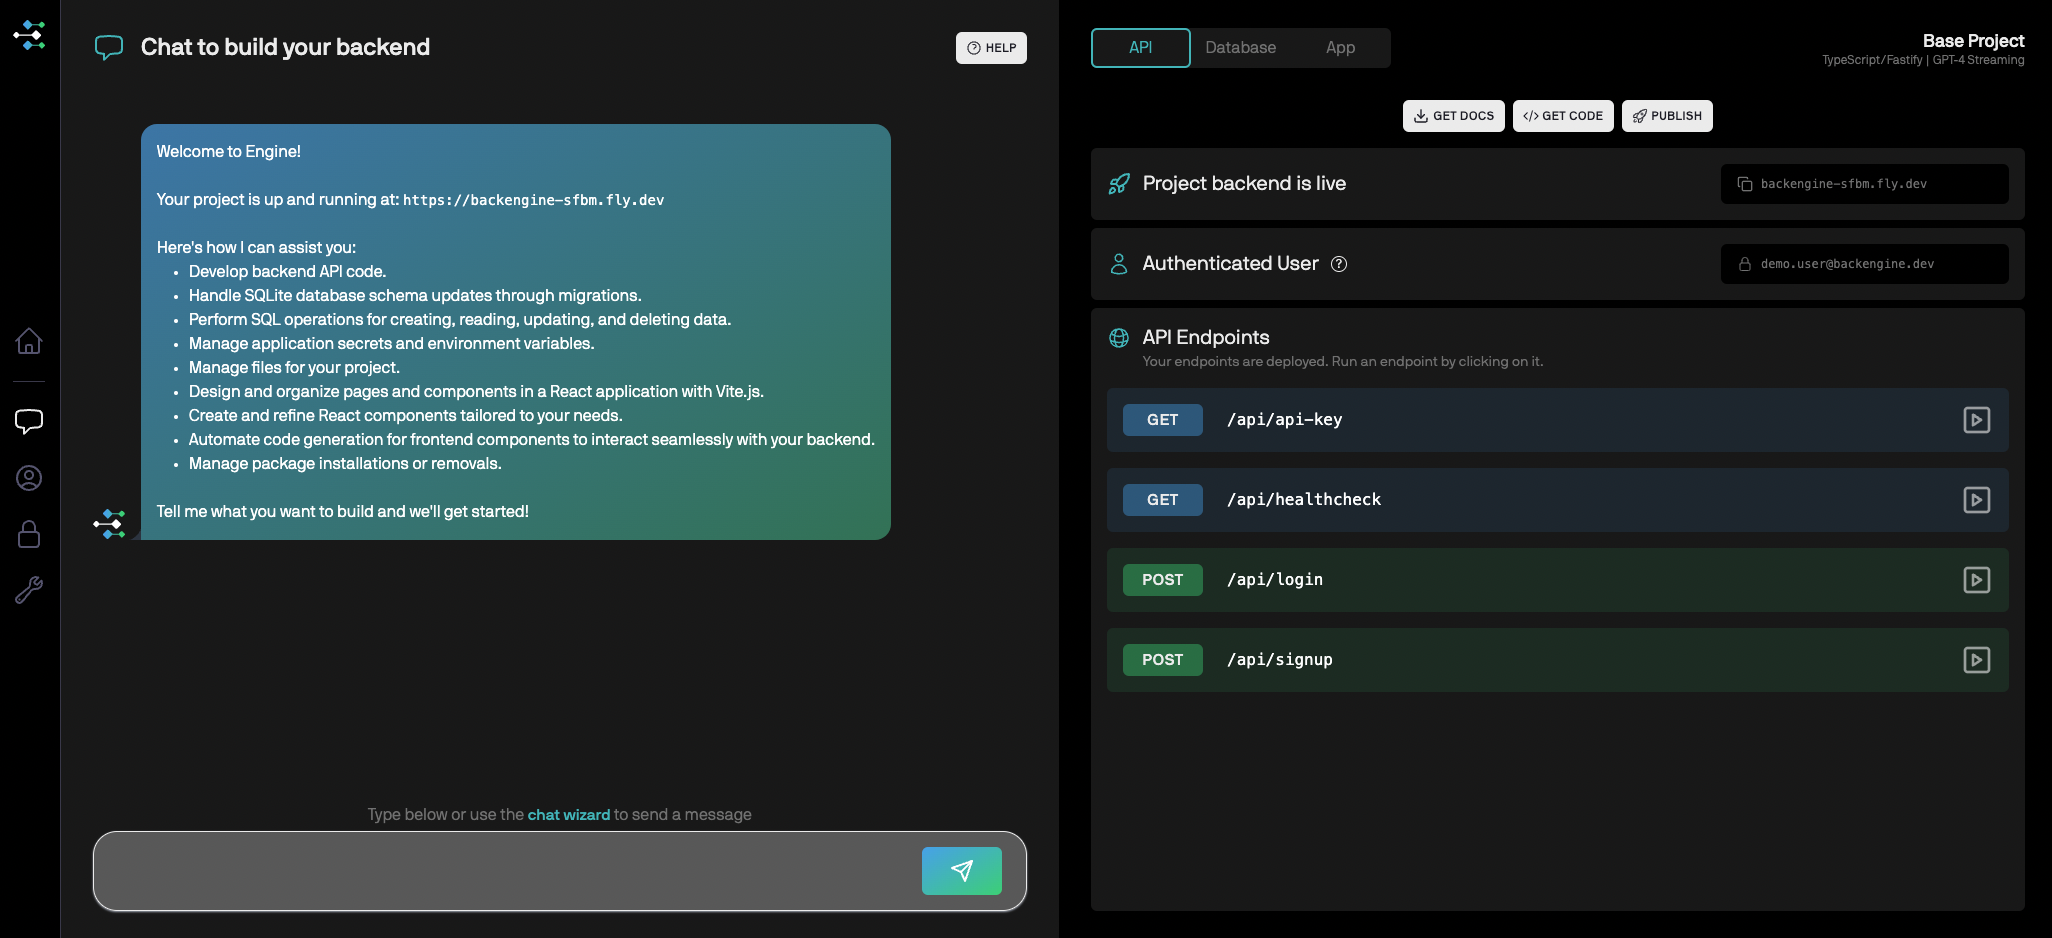
It might take a minute or so, but once it's complete, you'll be taken to your development environment.
Step 2: Build the database for your Task Tracker
You can start by creating your database. It’s as easy as having a conversation and detailing what you need. We also provide a Chat Wizard to help you start the conversation if you need it.
For this tutorial, we'll provide you with written prompts to copy and paste. You might like to try your own later.
On the left side of your development environment, copy and paste the following prompt into your Chat Field:
Create a table for a task tracker application that is able to handle the state of tasks for multiple users.

Press the send button or, cmd+Enter. Our AI model will analyse your requirements, design a schema, and then create tables in your database that will include all of the necessary properties needed to store tasks.

Note: Should you wish to make any changes to your database, now or later on, you can just ask Engine for them.
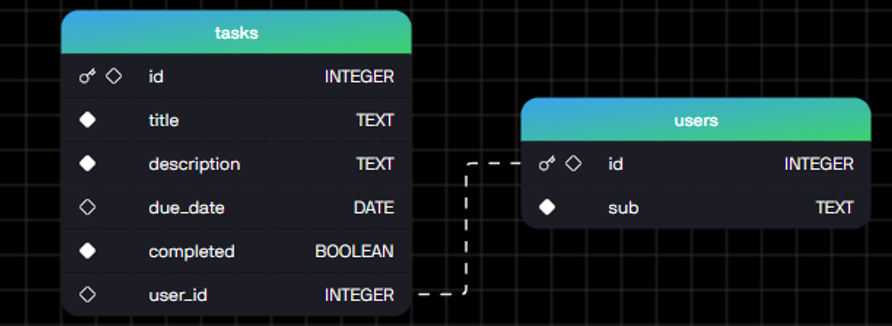
To access the schema of your newly created table, click the Database button that can be found on the right side of your view.

You’ll then be presented with your database schema, which will contain your tables as seen below. Your database may not look exactly the same, depending on how Engine designed your schema.
Step 3 Building your API
Now your database is ready to store data, we’re going to create a few simple endpoints that will cover some basic CRUD operations. These include:
- Creating a new task
- Updating a task
- Deleting a task
- Retrieving a list of tasks
Navigate back to the Chat Field, and enter:
I need to create endpoints for my task tracker application. I'd like to be able to create a new task, update a task via an ID, delete a task via its ID and retrieve a list of tasks.

Engine will handle the creation of these new endpoints, building and deploying a restful API, and will provide a response.
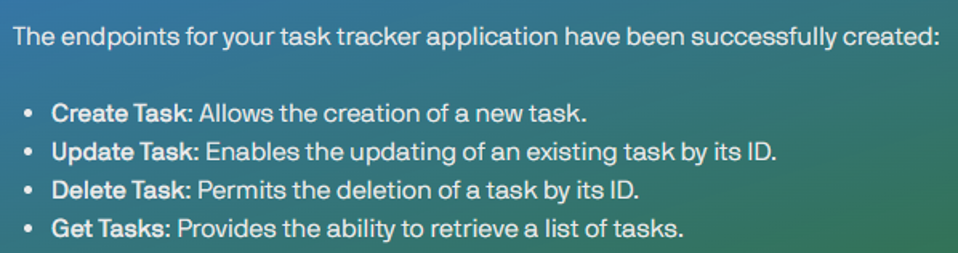
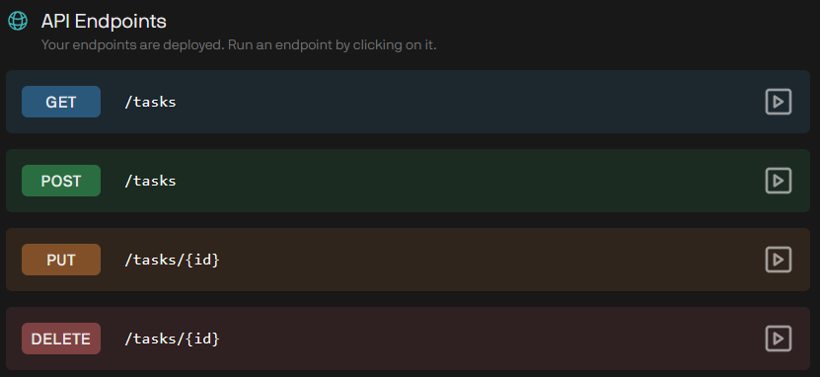
With just a single prompt, you’ve successfully built and deployed all of the required endpoints that cover the CRUD operations you’ll need in this guide. They are reflected in your API Endpoints view.
Step 4: Interacting with your application
You’re ready to interact with your newly created endpoints! This section will focus on sending requests to your endpoints and monitoring how they change the state of your database.
Let’s begin by creating a new Task. Click the POST tasks button in your API Endpoints view.

You’ll see a window that will help you formulate and send a request.
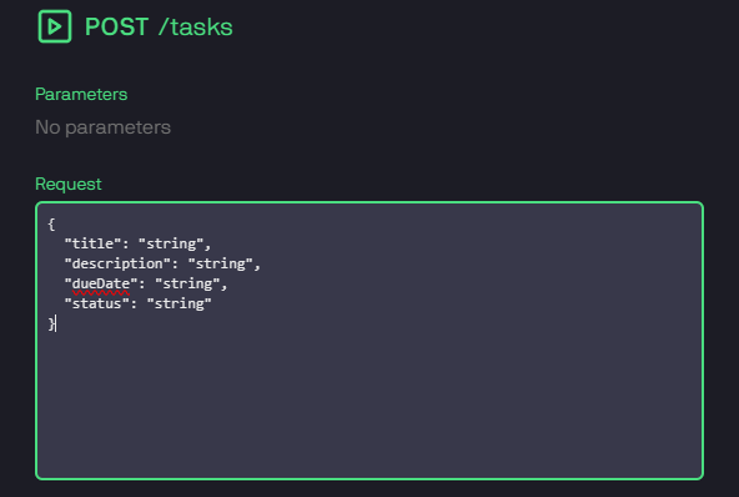
Each request that requires information will come preloaded with the required fields. In this instance, we’re going to add our values and post our first Task. Copy the sample Task below, make any changes you need to fit with your own schema, and click Execute.
{
"title": "Complete Project Proposal",
"description": "A reminder to finish my project proposal.",
"dueDate": "2024-04-26",
"status": "Pending"
}
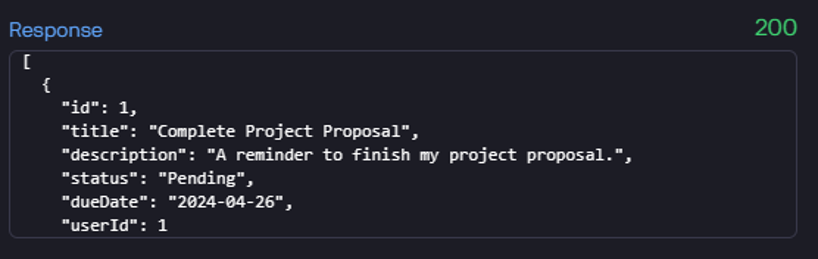
You'll receive a 2xx response code to indicate that your request has been successful. Got something else? Ask for help on our Discord.
We’re going to validate that this task has been created by making a call to the GET tasks endpoint. To do this, navigate to the API Endpoints view and click the GET tasks endpoint.

You don't need to enter anything here. Just click Execute and it will return the task you just created!
Try testing out your other endpoints yourself. Use PUT to update an existing task, and DELETE, to remove one.
Note: You can also ask Engine to test this functionality using the chat. Just say something like 'put some dummy tasks in my database' or 'run a get request to return all my tasks'.
Conclusion
Engine empowers you to create live applications regardless of your use case, simply by conversing with our no-code platform. You no longer have to be a seasoned developer to build, deploy or test apps, as our AI does all the hard work for you.